A step-by-step guide to effortlessly change your launcher app icon in Android Studio
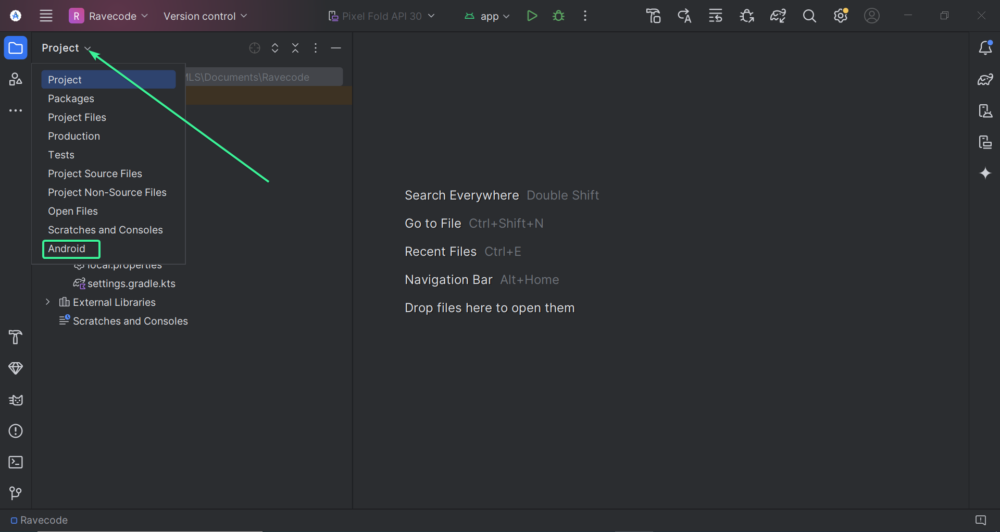
Step 1: Open the Android mode of your project
Open Android Studio and ensure your project is in Android mode to access the files required for changing your logo
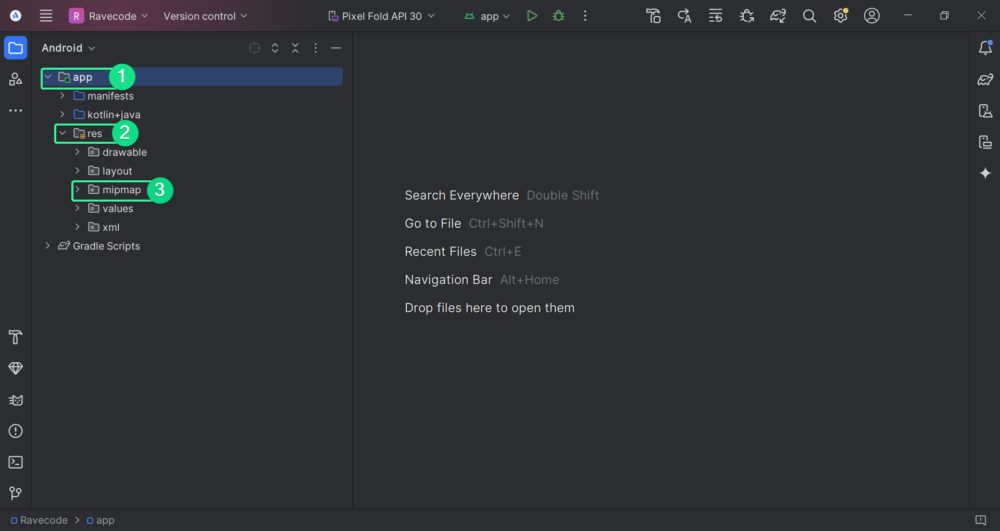
Step 2: Find the mipmap folder
Locate the “mipmap” folder by navigating through the following path:
app → res → mipmap
Step 3: Prepare your logo
Ensure your logo is already created and available on your PC/Laptop.
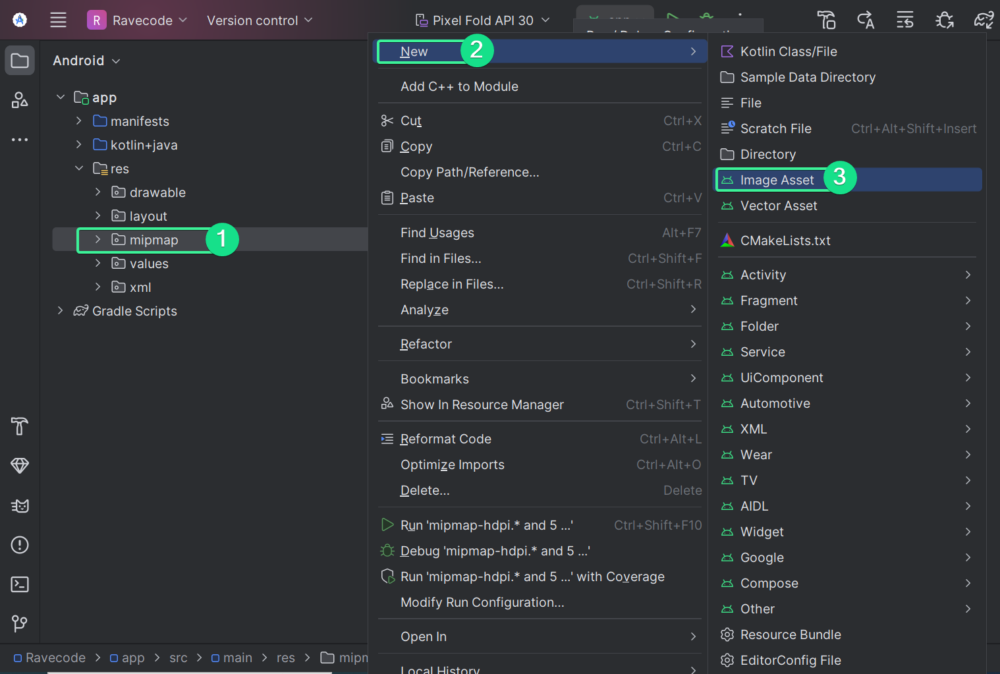
Step 4: Create a new Image Asset
Right-click the “mipmap” folder, then click on New → Image Asset. A pop-up window will appear where you can configure your logo.
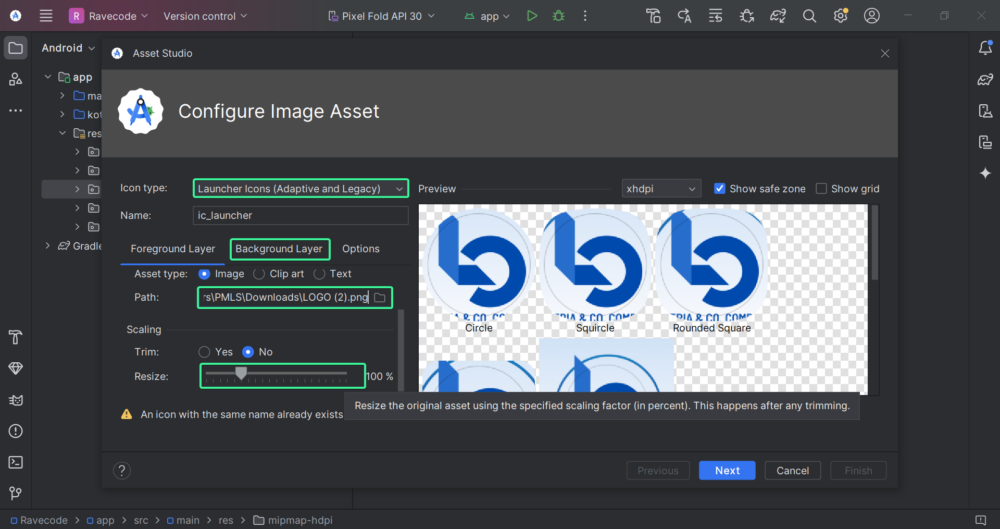
Step 5: Customize Your Logo
In the window that pops up, set the following options:
- Icon type: Launcher
- Path: Location of the logo you want to use
- Adjust the image and background color as needed, then click OK, followed by Next → Finish.
Step 6: Run your app
Rerun your app, and you will see your new app logo.
Troubleshooting
If you encounter a “Duplicate resource” error, remove all .webp images and try again.

Following these steps, you can easily change the app logo in Android Studio.
Happy coding!
Leave a Reply